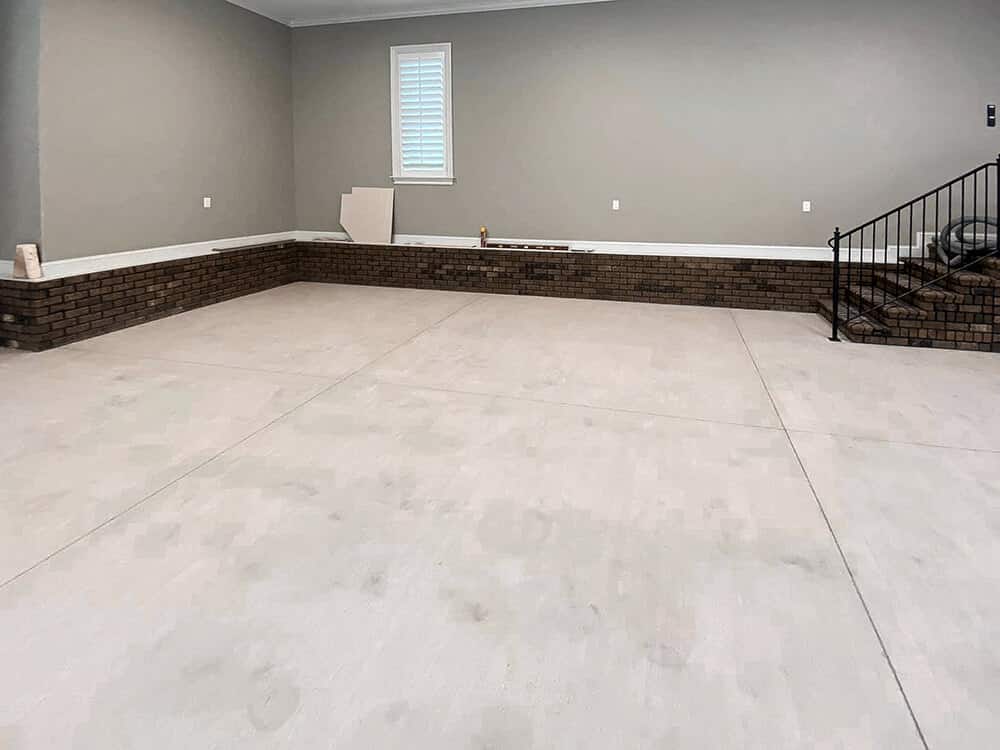
After a long search and comparison of the various garage flooring options, you must have settled on epoxy. That’s a great choice because epoxy is hard-wearing and turns boring grey floors into beautiful surfaces. Garage floors are a perfect candidate for epoxy because it allows home owners to live care free and not worry about having to repaint their floors every two years. That said, preparing the concrete for the epoxy chemical application is 80% of the job and it must be completed by an experienced professional with the right industrial grinding machines. This process directly impacts the quality of the epoxy installation you get.
Every flooring preparation process depends on the current state of your floor. Some floors already have previous installations, which must be removed before grinding the concrete surface so that it can accept the new epoxy coating.
Table of Contents
GET A FREE ESTIMATE!
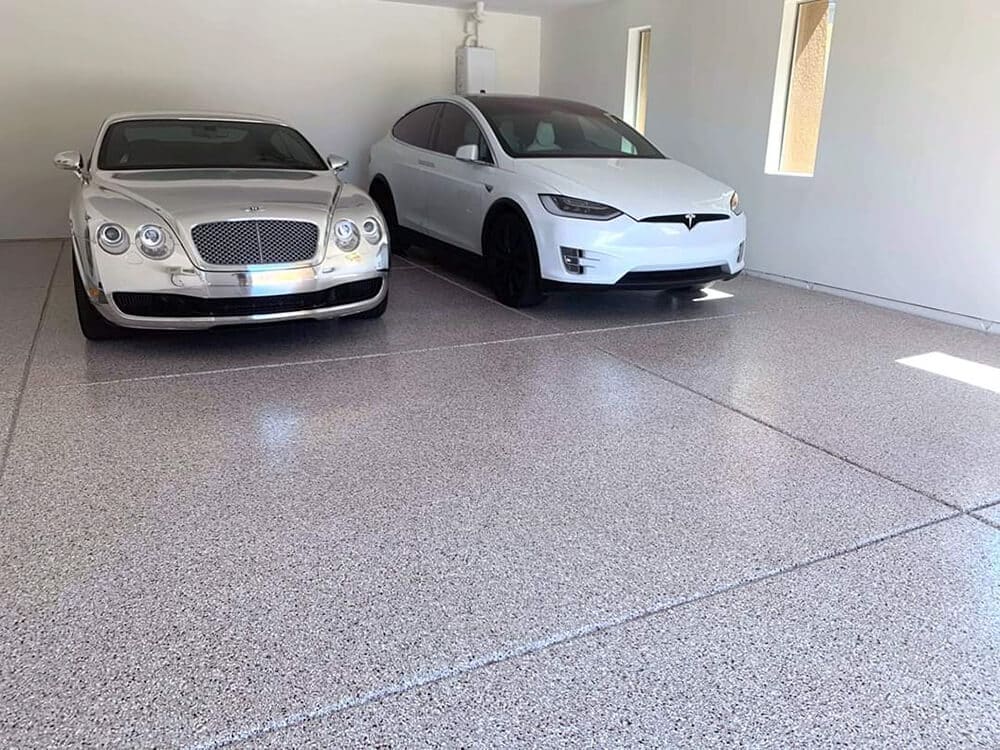
Garage Epoxy Floor
Remove Items and Fixtures
Removing items and fixtures is an obvious step but also very important to every flooring project. everything must be removed from the garage floor surface and anything in shelves should be taken out of the garage or completely wrapped and taped. Even though the grinding process is relatively dustless, you don’t want anything of value to be in the area.
Protect the Walls
You need to protect your walls by taping plastic sheeting all around. Leave tape at the bottom so that epoxy doesn’t bond with the sheeting. Remember you’ll need to remove your protective material after your floors are dry. If possible, also remove the baseboards of your walls to get good space to apply epoxy close to the walls and avoid cutting the edges with a brush. This is something that we handle whenever we first start a new flooring project.
Clear the Dust and Debris
Take a broom and sweep the floor to get rid of the dust and debris. That includes any solid waste and stains you might see on the floor. If it needs scrubbing, get a stiff brush and do it.
Methods to Open Up Your Floor for Epoxy
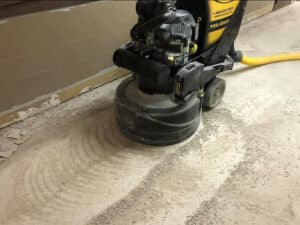
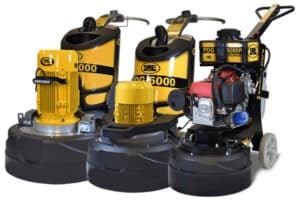
Once the floor is completely clean, and everything is out of the way, we start the diamond grinding process. A standard two car garage is 400 square ft and we can usually grind the entire surface of the floor in 2 hours while hand grinding the edges of the floor. There are multiple ways that contractors prep concrete, including acid etching, concrete grinding, and/or shot blasting, but we prefer to use an industrial grinding machine because it’s the best way to do it and opens up the entire slab. Without this process, the epoxy will not bond to the concrete the right way.
Grind Down Your Concrete
This method requires an industrial-grade grinder to grind the floor down into a smooth surface. Because concrete floors are very hard-wearing, the machine uses diamond plates (which are even tougher) to grind the floor into the required condition. Once the machine is turned on, all that’s required is pushing as you sway the machine around your floor surfaces. The back and forth ensure you rub your floor without leaving circular rings on the surface. It works great for floors with previous installations like paint or home depot floor products.
Find Help From Flooring Experts at Paradigm Concrete Finishes
Preparing your floor for epoxy is the most important step to ensuring you get a smooth surface and durable outcomes. Make it a point to research the possible options out there and get pick one that will bring the best results for your floors and is achievable. If unsure of what you are doing, it’s always better to involve professionals who can assess your situation and recommend the best solution. At Paradigm Concrete Finishes, we are more than happy to help you get your dream epoxy garage floor. Reach out to us for free consultation and quotes on your projects.

